Rupa Khurana is an Indian model and actress. She became a finalist for Miss World Peace India 2015 and went on to become first runner-up in Miss World Peace 2016. She participated and became the first runner up in the reality show MTV Splitsvilla in 2012. Khurana later participated in the reality show Bigg Boss in 2017. She is best known for her role of Shweta in Behna…Ek Safar Ki Khushiyon Aur Pyaar.
Early Life and Bio: Rupa Khurana
Rupa Khurana is an Indian actress and Model associated with the Haryana music industry. She was born on September 7, 1991, and her birthplace is New Delhi, India. Information about her parents and other info is not known as she has kept her personal life very private and secret. She did her schooling in Delhi and completed her graduation from Delhi University.
Physical Measurements: Rupa Khurana
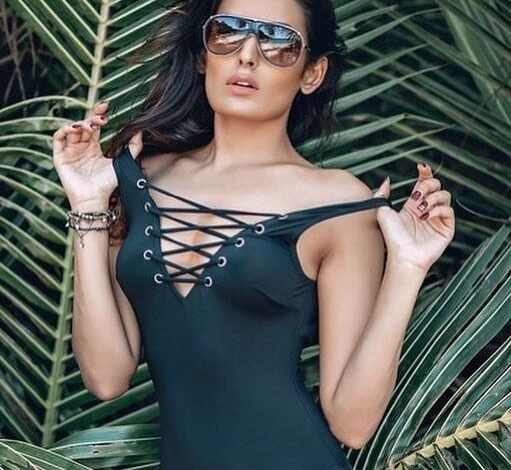
Rupa Khurana is a beautiful-looking lady who has very good looks and a great body figure. She has maintained herself very well and is mighty seductive. She is 5 feet 6 inches tall but her weight is unknown. Khurana has black hair and black eyes. She does not have any tattoos on her body and does not prefer having tattoos on her body.
Professional Career: Rupa Khurana
Rupa was a Pageant contestant who became a finalist for Miss World Peace India 2015 and went on to become the first runner-up in Miss World Peace 2016 Shanghai, China. She was also the first runner-up on MTV’s Splitsvilla season five. In 2013, she received her first big pageant win and got the title of Miss Grand International in Thailand. Rupa won Miss Grand International India 2013, Miss Perfect 10, and Miss World Leisure 2016. She completed her fashion designing course and started working as a “Fashion Designer” at Roop Rang, New Delhi. She is always interested and very passionate about art, fashion, photography, and travel.
Relationships: Rupa Khurana
Rupa Khurana’s personal life is not known as she has not revealed any information related to her personal life. We do not know whether she is dating someone presently or not. We also do not have any information regarding her past relationships. It is believed that she is presently rumored to be single. We will update this section completely once we get any information related to this.

Net Worth
Rupa Khurana’s net worth is still under review. She has been a part of many relaity TV shows and has also acted in many TV soap operas. Khurana has also modeled for many famous worldwide brands and has a good amount of money from them. She might have earned huge pay from her participation in famous shows like Big Boss etc.
Social Media
Rupa Khurana is an avid social media user. She is on social media platforms where she likes to update all information regarding her life happenings, beautiful pics etc. Khurana has a considerable amount of followers on her Instagram channel. She also has good amount of followers on other social media platforms. Also, Read More About – Aleph Portman-Millepied and Kakeru Manabe: Two Different Lives?
Also read Brock Samson | Avril Lavigne |Mohan Kapur | Lokesh Kumari Sharma | Rickie Fowler Wife | Wanda Ferraton